If you are interested in a taste of the future iPadOS and are willing to risk some potential issues, you can join and participate in the public beta program with Apple. This program allows you to download a beta version, as it currently stands, and as it progresses to final release.
For example, you can start to use Stage Manager (shown above) to multitask and get things done with multiple overlapping windows.
You can go to iPadOS 16 Preview to learn more. To participate in the Apple Beta Program to try out more than the iPadOS preview, you can go to Apple Beta Software Program. There, you can learn about testing iOS, Ventura, WatchOS and more.
Credit Apple Inc.
There are many new and improved features, including external display support, Stage Manager and drag and dropping files and apps between screens.
Participate in the program and help Apple fix issues and improve the software.
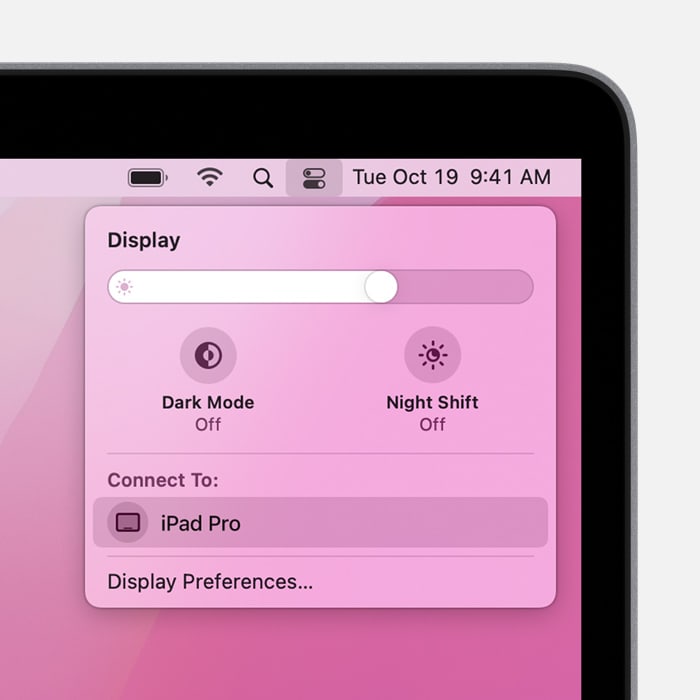
Whether your eyes are getting older and need to read something like a menu or you want quick access to a calculator, the iPhone has a quick way to get to tools to help you. The Control Center is accessible by swiping down from the top right of the screen.
What is not well known is the easy way you can add or delete the tools that will be available when you swipe down. To modify the tools, on your iOS device, go to Settings > Control Center. There, you will see “Included Controls” which are the basic ones that come preinstalled and then you have “more controls” that include various tools that are available to you when you swipe down from the top right corner of your iOS device.
Once you are go to Settings > Control Center, tap on the green plus button in the More Controls to move an item to the Included Controls. If you want to move an included control out, tap on the red minus button to the left. That will not delete the control but will simply move it to the more controls to be available later if you want to add it back.
To the right of each control in the included controls list are 3 lines. If you tap and hold on that handle, you can drag and drop the control to a location. The closer towards the top, the higher up it will be in the control center.
Once you are satisfied with the controls, you can then swipe down from the top right and see the controls available.
By the way, the magnifier tool (magnifying glass with +) is great for zooming in on a menu, to see ingredients on the side of a bottle, menu, etc. You can even turn on the flashlight or take a quick picture and share it.
Use the control center to get quick access to tools to make your life easier.
While traveling with my MacBook Pro and trying to get some work done this past week, I missed having the large external display in my office. Sitting in the hotel room, with my aging eyes, I needed more space to see various windows.
Then, I remembered my iPad Pro was sitting in my backpack and recalled a way to use it as an external monitor. Sidecar is a feature that allows you to use your iPad as a display that extends or mirrors your Mac desktop.
Why would you want to do this or how can the Sidecar feature help in other ways?
Maybe you want to do a presentation at a table or other area. You can use the iPad as an external monitor to have others see the slideshow you are presenting from your Mac. You can even mirror what you are doing on your display to show others what or how to do something on your Mac.
Here’s what you need to do to use the feature wirelessly or wired via a USB cable.
Make sure your Mac and iPad meet the sidecar system requirements. (Basically, newer computers, operating system and iPadOS as explained in the article referenced below.)
Then, make sure the following steps are taken.
Both devices signed into iCloud with the same Apple ID using two-factor authentication;
If using wirelessly, both devices must be within about 10 meters or 30 feet of each other and have Bluetooth, Wi-Fi and Handoff turned on. (Make sure the iPad and Mac are not sharing cellular connections with other devices).
If using a USB, make sure that your iPad is set to trust your Mac. Basically, when you connect the iPad to your Mac, you may get a popup asking whether you want to trust the Mac. Tap trust and enter your iPad login information to confirm.
Next, on your Mac, depending on which version of MacOs you are running, do the following:
MacBig Sur or later, click on Control Center at the top right and then choose your iPad from the menu.
credit Apple Inc.
If using macOS Catalina, click the AirPlay icon in the menu bar, then choose your iPad from the menu.
Another option that may work is to go to System Preferences > Displays > Add Display on your Mac and select your iPad.
Once this is successfully done, your iPad appears as an external display and extends your Mac’s display like any other monitor to provide you with more screen real estate. Because it is an iPad, its not like just any other external monitor as discussed below.
You can adjust which “side” your iPad appears on by using Displays in System Preferences. You can drag the iPad screen image from the left or right side so that your cursor naturally travels in the same direction from your computer screen to the extended iPad screen. Using the above image as an example, you could drag the iPad image on the left to the right side of the display that appears. This would be appropriate and feel better if your iPad was physically sitting to the right of your computer.
To learn more about the extended features and benefits of adding an iPad as an external display and the availability of gestures, the use of an Apple Pencil and ways to change settings, read this Apple article.
The next time you need a little more screen space or want to do a presentation from your Mac to an iPad, try using Sidecar to improve your workflow and convey your ideas.
Apple Inc. has issued an update to iOS and iPad devices. In part, the update addresses a “[p[rocessing a maliciously crafted HomeKit accessory name may cause a denial of service.”
As always, you should follow these steps when updating your iOS and iPad OS devices.
It is amazing at all of the features or tips that I think, no need to tell anyone that because they have to know it and later learn it is not known. With that in mind, to help everyone with their own New Year’s resolution to increase productivity, planning and organization, consider this tip and scenario.
You have an inspiration, thought or idea you want to capture and remind yourself about later and you think…I’ll remember that, no need to write it down or enter it…and then later you think what was that thing I wanted to do or worse, you forget you even had that thought.
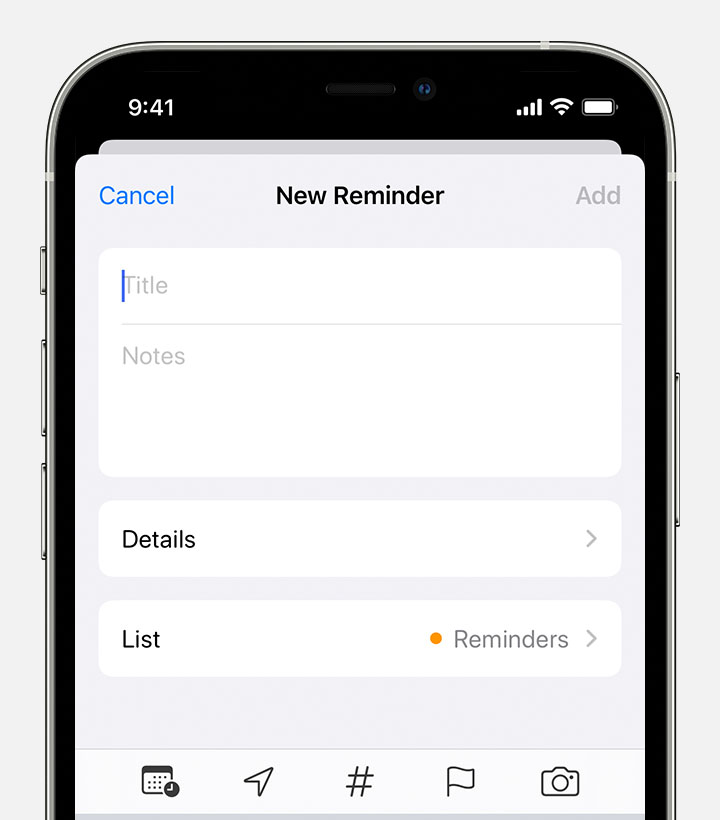
What if there was an easy way to capture and remind yourself about an idea that takes little to no effort…? There is…and it’s as simple as using your iCloud reminders with Siri but you do not even have to type anything.
Credit Apple Inc.
You can ask Siri to schedule a reminder for you using your iOS device or your Apple Watch or while wearing connected AirPods while you are doing things like taking a walk, at the gym or going somewhere.
Here are a few examples of things to try after saying “Hey Siri”:
“Remind me at 11 am tomorrow call Bob about the Project.”
“Remind me when I get to the office draft letter to Anna about payment.” “Remind me to feed the dog every day at 7:30 a.m.” “Remind me when I get home to check the mail.” “Remind me when I leave here to stop by the grocery store.” “Remind me tomorrow at 3:00 p.m. to call Tara.”
You can add your home and work addresses to your card in Contacts to allow Siri to help you set location-based reminders. To do this, open the Contacts app, then tap My Card. Tap Edit, add your work or home address, then tap Done.
Try it now…”Hey Siri, remind me at 7 tonight, create a reminder to work on something tomorrow.”
Apple has released a series of updates to address maliciously crafted exploits. Users are encouraged to update promptly. These updates include WatchOS and MacOS.
Some of the details can be found here and include:
CoreGraphics
Available for: iPhone 6s and later, iPad Pro (all models), iPad Air 2 and later, iPad 5th generation and later, iPad mini 4 and later, and iPod touch (7th generation)
Impact: Processing a maliciously crafted PDF may lead to arbitrary code execution. Apple is aware of a report that this issue may have been actively exploited.
Description: An integer overflow was addressed with improved input validation.
WebKit
Available for: iPhone 6s and later, iPad Pro (all models), iPad Air 2 and later, iPad 5th generation and later, iPad mini 4 and later, and iPod touch (7th generation)
Impact: Processing maliciously crafted web content may lead to arbitrary code execution. Apple is aware of a report that this issue may have been actively exploited.
Description: A use after free issue was addressed with improved memory management.
Apple has announced an event that will stream on September 14, 2021 at 10 a.m. PDT. You can view the online event at Apple.com or on the Apple TV app.
No official products have been announced. There is speculation that Apple may announce iPhone 13, Apple Watch 7, new AirPods, or other hardware including iPad Mini.
It does not appear likely that iOS 15 or Monterey, the latest MacOS will be released on this date. But, as with most Apple events, you will likely not know until you know.
Apple has issued an iOS update. Users are encouraged to install this update as it fixes several security issues.
The update applies to iPhone 6s and later, iPad Pro (all models), iPad Air 2 and later, iPad 5th generation and later, iPad mini 4 and later, and iPod touch (7th generation).
The WebKit fixes impact “maliciously crafted web content [that] may lead to arbitrary code execution.”
There are various updates to other Mac and Watch OS devices as well. As with any update, you should make a backup first.
If you are looking to speed up and customize some ways to work with Microsoft Word, you may find the recent article 5 Ways to Customize Word very helpful. On the iPad, there are limited wasy to customize settings while using Word.
Word Settings
In Word, tap on the gear icon on the bottom left and you will be presented with settings related to Storage, Notifications, and (currently) two settings related to auto format as you type and whether the Apple Pencil always draws ink.
The ability to customize the iPad version of Word is limited. Should you find yourself wanting to use Word on the iPad with some regularity, Apple’s Keyboard or an external keyboard is recommended as certain keyboard commands to speed up the process are easily utilized. For example, copy, paste, select all, italicize, bold, etc. are recognized with the keyboard input. This saves time by not having to tap on the screen to select the text, the select the action to perform.
A subscription to Microsoft is required to edit documents on the iPad. No subscription is required to read documents that may have been sent to you to review.
If you use Microsoft Word, the iPad is a great tool to help you focus on getting the words down on the screen. By using cloud sync services, such as OneDrive, you can then save your work in the cloud and continue later on your iPhone, Mac or other device. You can also save your work to a file on the iPad.
It’s been a while since posting but that (hopefully) will change with this latest update from Lit Software to their suite of litigation software. There are three separate apps that can be used to help you with your litigation practice. There is TrialPad, TranscriptPad and DocReviewPad.
Each app can help you with a separate part of preparing for and presenting information at trial.
In a nutshell, TrialPad is an app that allows you to organize and present evidence at trial, mediation or during motions.
TranscriptPad is an app that allows you to review and markup transcripts that are in text format to help you organize relevant testimony.
DocReviewPad is an app that allows you to do similar functions for documents involved in the discovery process.
With court rooms beginning to open, there is so much to discuss and show with the latest update that it cannot be limited to one post. I plan on posting specific ways to use the updated tools. For now, this will be a quick post to alert users of the apps or those interested in learning more about them that the software and payment for it has recently been updated.
In the past, one could buy the apps and receive updates. The new model is a subscription plan. You can download any of the apps from the App Store and start a 7 day free trial, with no limitations or restrictions and using your own documents and evidence.
It is strongly recommended that you not wait until the day or even week before trial to start learning these apps.
If you want to learn more about these apps, visit the Litsoftwarewebsite and review the videos that are currently available and help center.
Recently, Jay Vaughn and I walked through using TrialPad on Trial Lawyers University. There are various upcoming seminars that will be put on to show you how to use these apps. Check your local bar or trial lawyer schedules.